
When we got the curio cabinet into the garage and laid on the saw horses, all Ryan and I could think of was the amount of painter's tape we were going to need to tape off all the glass. Then my genius hubby decided to take all the glass out and remove the mirrored back.
Here is what we started with! Light oak didn't fit in with the rest of the decor in our house (especially the dining room). Everything in the dining room is black, so black was pretty much a no brainer.

Ryan took all of the glass panels out of the front of the cabinet and removed the back glass panel. Believe me, the time to remove the glass is WELL WORTH IT!!

Just think how long it would have taken to tape everything off and work around all the glass!

He took off the hinges and removed the door so we could paint that separately as well!

One of the pieces of crown moulding had fallen off in the move. Sooooo, Ryan attached the two blocks to the top of the cabinet and pulled out the wood glue.
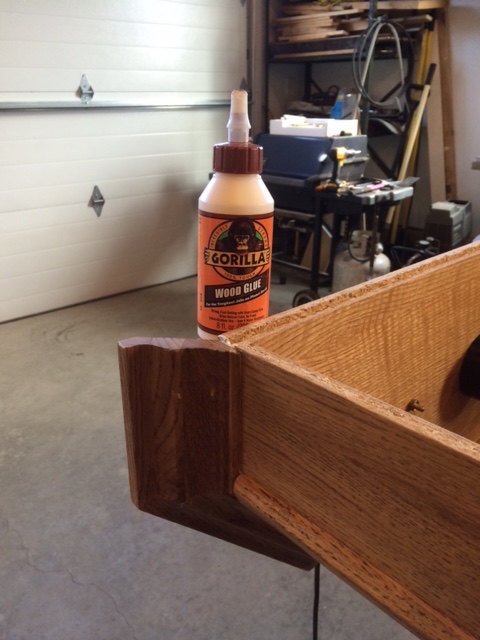
A little gorilla wood glue on both sides and we were back in business. This stuff dries really fast and we were able to start prepping the surface of the cabinet right away!
I can't wait to see the finished product myself let alone share it with you :-)
Come back, for the final reveal.....
No comments:
Post a Comment